How the Toolbox Works
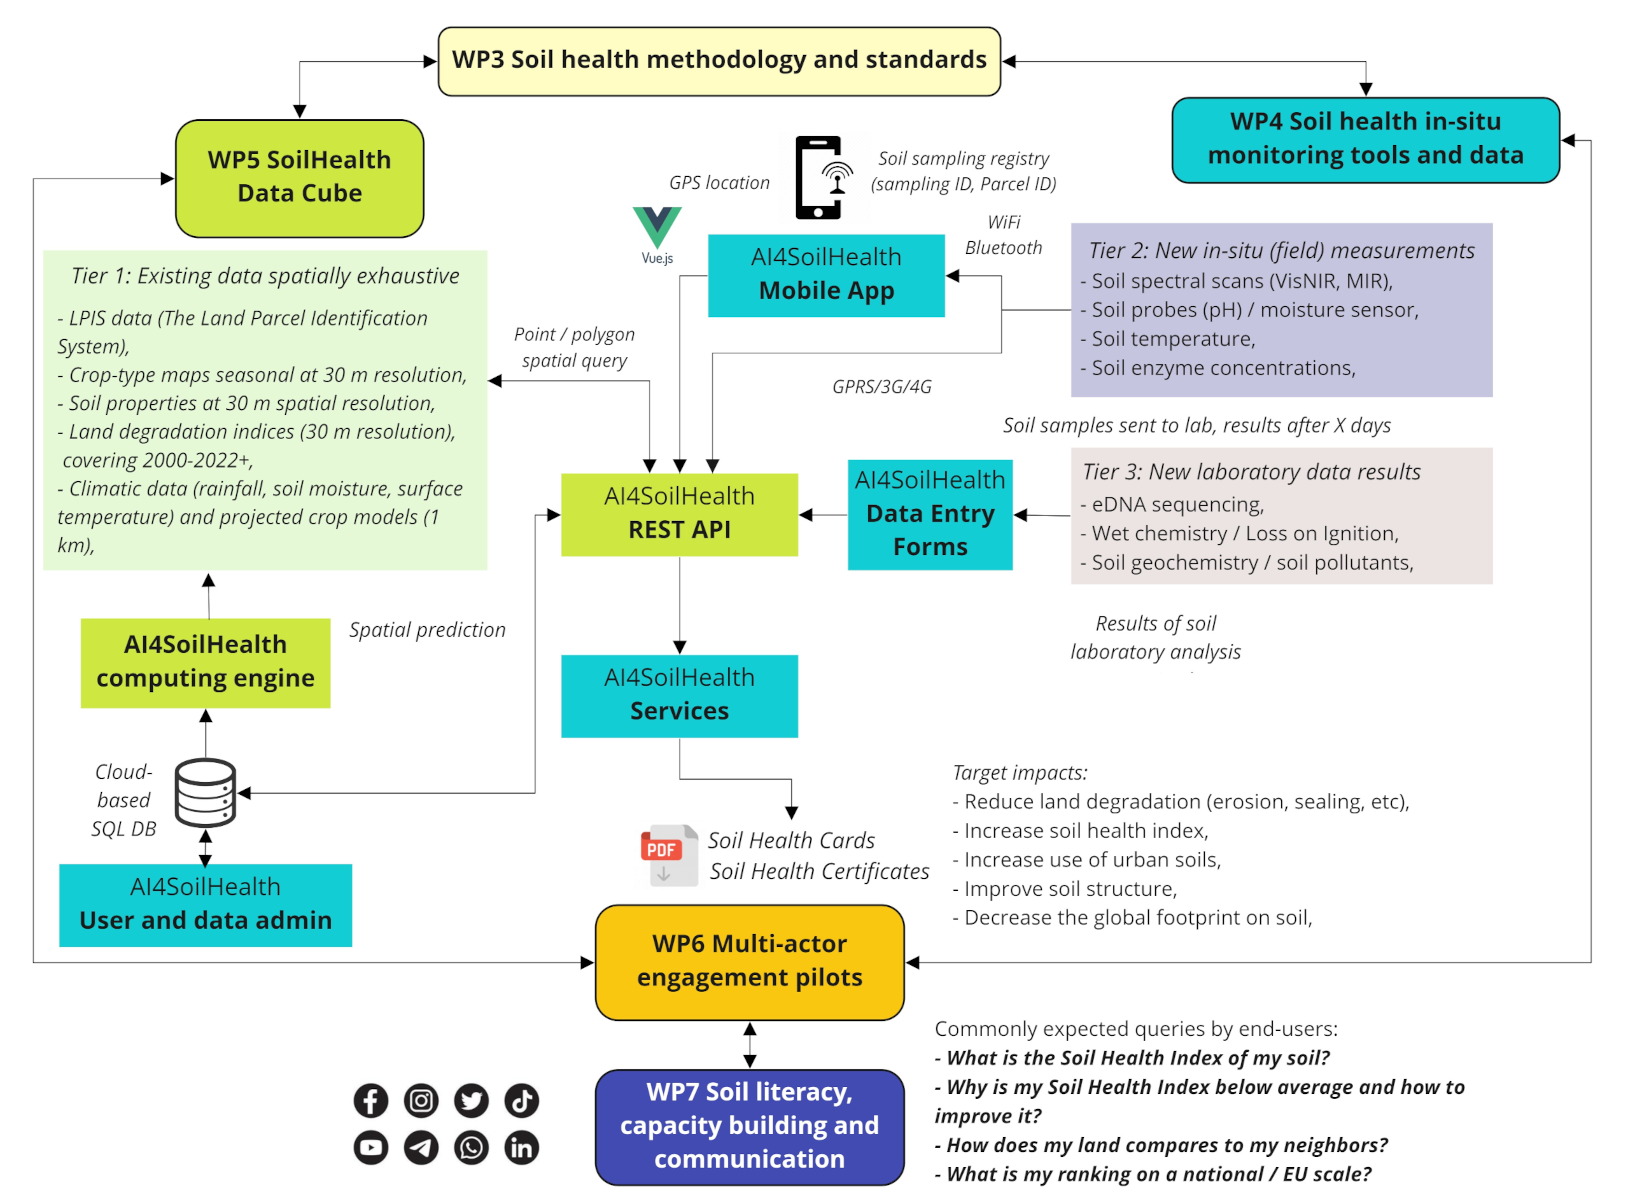
The AI4SoilHealth Toolbox is designed to help users move from a soil health question to a usable result.
In practice, users do not need to use every tool. The toolbox is modular. A user may combine only a few methods, or may use a fuller workflow involving field assessment, laboratory analysis, and digital interpretation.
Step 1 - Start with the question
A typical workflow begins with a practical question such as:
- Is this soil affected by salinity?
- Is compaction limiting soil function?
- Is water entering the soil properly?
- How can I assess biological condition?
- Which methods help me understand soil structure or nutrient status?
Step 2 - Choose the relevant descriptor
The next step is to identify the main soil health theme of interest, for example:
- salinisation,
- soil organic carbon decline,
- compaction,
- nutrient imbalance,
- reduced infiltration,
- acidification,
- contamination,
- or biodiversity.
Step 3 - Select suitable tools
Once the question is clear, the user can select the most appropriate toolbox components.
Examples: - for compaction: VESS, bulk density, infiltration - for salinity: pH / EC / salinity methods, laboratory analysis - for biodiversity: macrofauna observation, MicroBIOMETER, eDNA, enzyme activity methods
Step 4 - Collect observations, samples, or measurements
Depending on the chosen tools, the user may:
- make field observations,
- collect soil samples,
- perform rapid field screening,
- use kit-based methods,
- or send samples for laboratory analysis.
Step 5 - Organise and visualise the information
The digital part of the toolbox helps users:
- record results,
- link them to locations,
- organise observations,
- visualise selected data,
- and connect local information with broader digital context.
Step 6 - Interpret the results
The toolbox is not about collecting numbers only. It helps users interpret what those results may mean in relation to:
- soil condition,
- visible constraints,
- structural quality,
- chemical stress,
- biological functioning,
- and broader spatial context.
A modular system, not a fixed sequence
Not every user will follow exactly the same sequence.
For example: - a farmer may rely mainly on practical field tools and selected support, - a researcher may combine several field, lab, and digital elements, - an advisor may use rapid methods and digital outputs to support interpretation.
The value of the toolbox lies in helping different users choose methods that fit their purpose.
The toolbox works best when users begin with a clear soil health question and then select the tools that best match it.